How to Use Wavefront Restore
Before You Start
Section titled “Before You Start”- Use a linear image, after gradient removal and before any stretch or star removal. See How It Works for why.
- Don’t use an image that another deconvolution tool has already processed.
- A full-size image can take several minutes, so try your settings on a preview first.
Step by Step
Section titled “Step by Step”- Open Wavefront Restore from PixInsight’s Process menu.
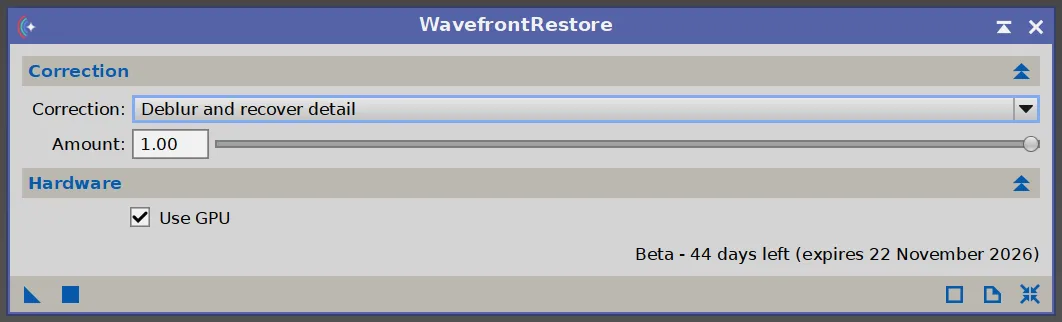
- Choose a Correction: Correct aberrations or Deblur and recover detail. In the current beta, use Deblur and recover detail (see the note below).
- With Deblur and recover detail, set Amount.
- Apply it. Drag the triangle at the bottom left of the window onto your image or preview, or select the image and click the square next to it.
- Use PixInsight’s Undo and Redo to compare the result with the original.
The Controls
Section titled “The Controls”Correction
Section titled “Correction”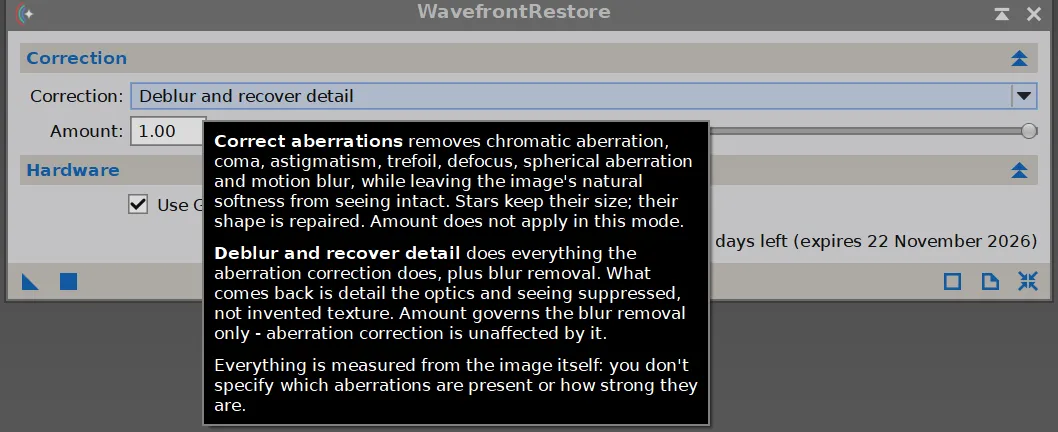
- Correct aberrations removes chromatic aberration, coma, astigmatism, trefoil, defocus, spherical aberration and motion blur, while leaving the image’s natural softness from seeing intact. Stars keep their size; their shape is repaired. Amount doesn’t apply in this mode.
- Deblur and recover detail does everything Correct aberrations does, and also removes blur. What comes back is detail the optics and seeing suppressed, not invented texture.
Either way, everything is measured from the image itself: you don’t say which aberrations are present or how strong they are.
Amount
Section titled “Amount”From 0.00 to 1.00, used only by Deblur and recover detail. It sets how much blur is removed, across the whole image. Type a value or drag the slider.
Use GPU
Section titled “Use GPU”When this is on, Wavefront Restore runs on your graphics card: an NVIDIA card on Windows, or Apple silicon on a Mac. Turn it off to run on the CPU, which is much slower, so keep that for previews and small crops. Without a supported graphics card, Wavefront Restore uses the CPU anyway.
Beta Status
Section titled “Beta Status”The line at the bottom shows how many days the current beta build has left, and the date it expires. Keep PixInsight’s update check on, and new builds install as they are released.
Built-in Help
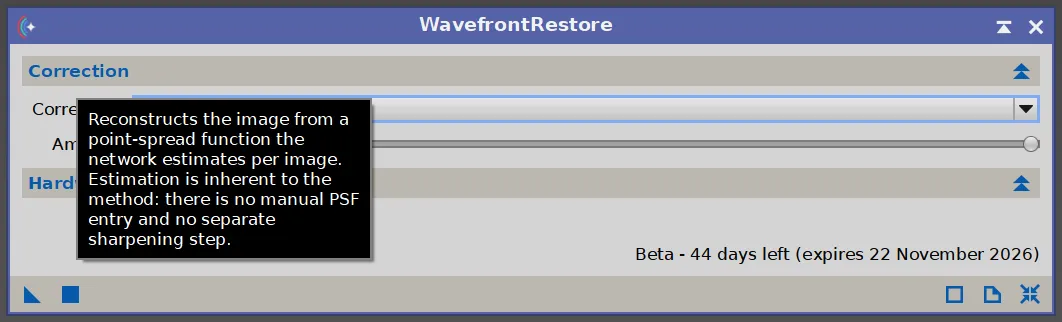
Section titled “Built-in Help”Hover over the controls for short explanations, like this one on how the correction works.